Brand A’s and Brand B’s popups end up in the same dashboard, and reports can’t be split.
Set up a separate workspace per brand. Lock the default URL, fonts, and colors per brand so new popups launch fast and on-brand.
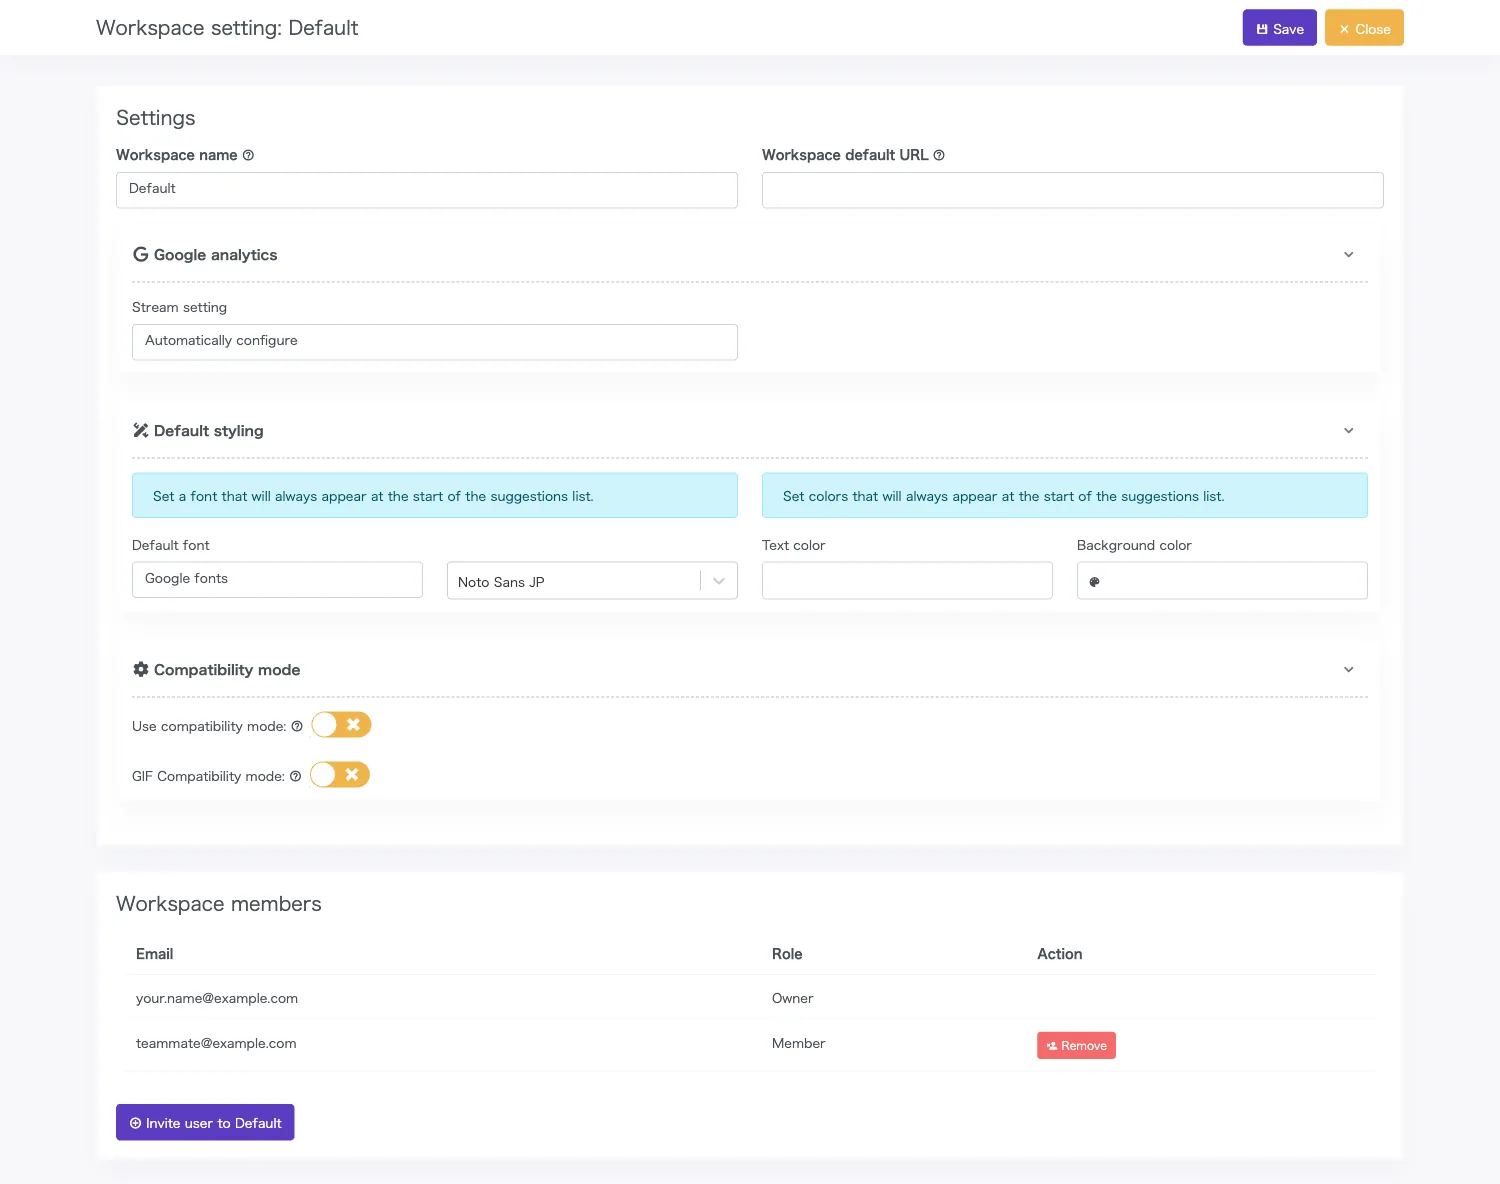
Manage popups, analytics, embed tags, and default settings independently per workspace.
Promolayer Plus adds email invitations for collaborators — built for multi-site teams.
Popups, analytics, embed tags, and settings — all completely separated.
Run multiple sites or clients from a single account without mixing them up.

Each workspace creates and manages popups independently. Client A’s popups never blend into Client B’s dashboard.
Impressions, clicks, and conversions are aggregated per workspace. Read results separately by site or project.
Each workspace gets its own installation tag. Tags stay isolated by client or site.
Default URL, fonts, colors, and Google Analytics ID can be set per workspace. New popups don’t need to be set up from scratch.
Shadow DOM compatibility and GIF compression are also per workspace, so CSS conflicts on individual sites can be absorbed precisely.
Invite collaborators by email per workspace. Roles are fixed at Owner and Member — perfect for sharing access to a single client project.
Reports should be readable by the site or client you’re running — and in Promolayer, the workspace is how reports are organized.
You don’t have to log out and back in to switch context.
* Per-workspace reports are available from the Pro plan and above (when multiple workspaces are in use).
Pick “workspace total” in the report screen to see impressions, clicks, and conversions aggregated across the current workspace’s popups. Read results by site or by campaign at a glance.
Pick the “account total” report to download account-wide data across multiple workspaces as CSV. Useful for monthly reporting across teams and business units.
Assign one workspace per brand or site and use the workspace-total report directly as your monthly report. Brand A’s numbers never mix with Brand B’s.
Invite collaborators to a workspace by email.
Two roles — Owner and Member — with a simple split: only Owners manage members; both can edit popups.
Invite by email
From the workspace settings page, enter the email address of the collaborator you want to add. An invitation email with a link is sent automatically.
Accept and join
The recipient joins via the invitation link. New users can continue straight to account sign-up from the same link.
Start collaborating
Members switch to the workspace from “Workspaces I’m in” and begin editing.
Set up a separate workspace per brand. Lock the default URL, fonts, and colors per brand so new popups launch fast and on-brand.
Create a workspace per division and invite only the right members by email. Anyone not invited can’t see or edit that workspace — clean access separation, simply.
Pick a plan with enough workspaces for the sites or clients you manage.
| Plan | Workspaces |
|---|---|
| Free | 1 |
| Basic | 1 |
| Standard | 1 |
| Pro | 2 |
| Enterprise | 5 |
| Promolayer PlusPlus | 15 |
It’s an isolated environment inside Promolayer that fully separates popups, reports, embed tags, and default settings by site or client.
Use it when you want to run multiple sites — or multiple brands within one company — in a single account without mixing them up.
Yes. Free / Basic / Standard include one workspace; Pro includes two, Enterprise five, and Promolayer Plus fifteen.
See the pricing page for details.
On Promolayer Plus and above, you can invite collaborators to a workspace by email.
Invitees accept via the invitation link and join. Members can edit and publish popups in that workspace. Adding or removing members and changing workspace settings is Owner-only.
Yes. Each workspace gets a unique installation code containing its workspace ID. That prevents accidents like pasting Site A’s tag on Site B.
When you create a new workspace, grab its dedicated tag from the “Embed code” page and place it on the target site. Sites that already use a different workspace’s tag continue to work as-is.
Practically, the Pro plan and above. Pro allows two or more workspaces, which is when separating reports starts to matter.
On a one-workspace plan, the report is identical to the account-wide report, so there’s nothing to split.
Get started today with the free forever plan.
Add workspaces and invite members any time by upgrading your plan.